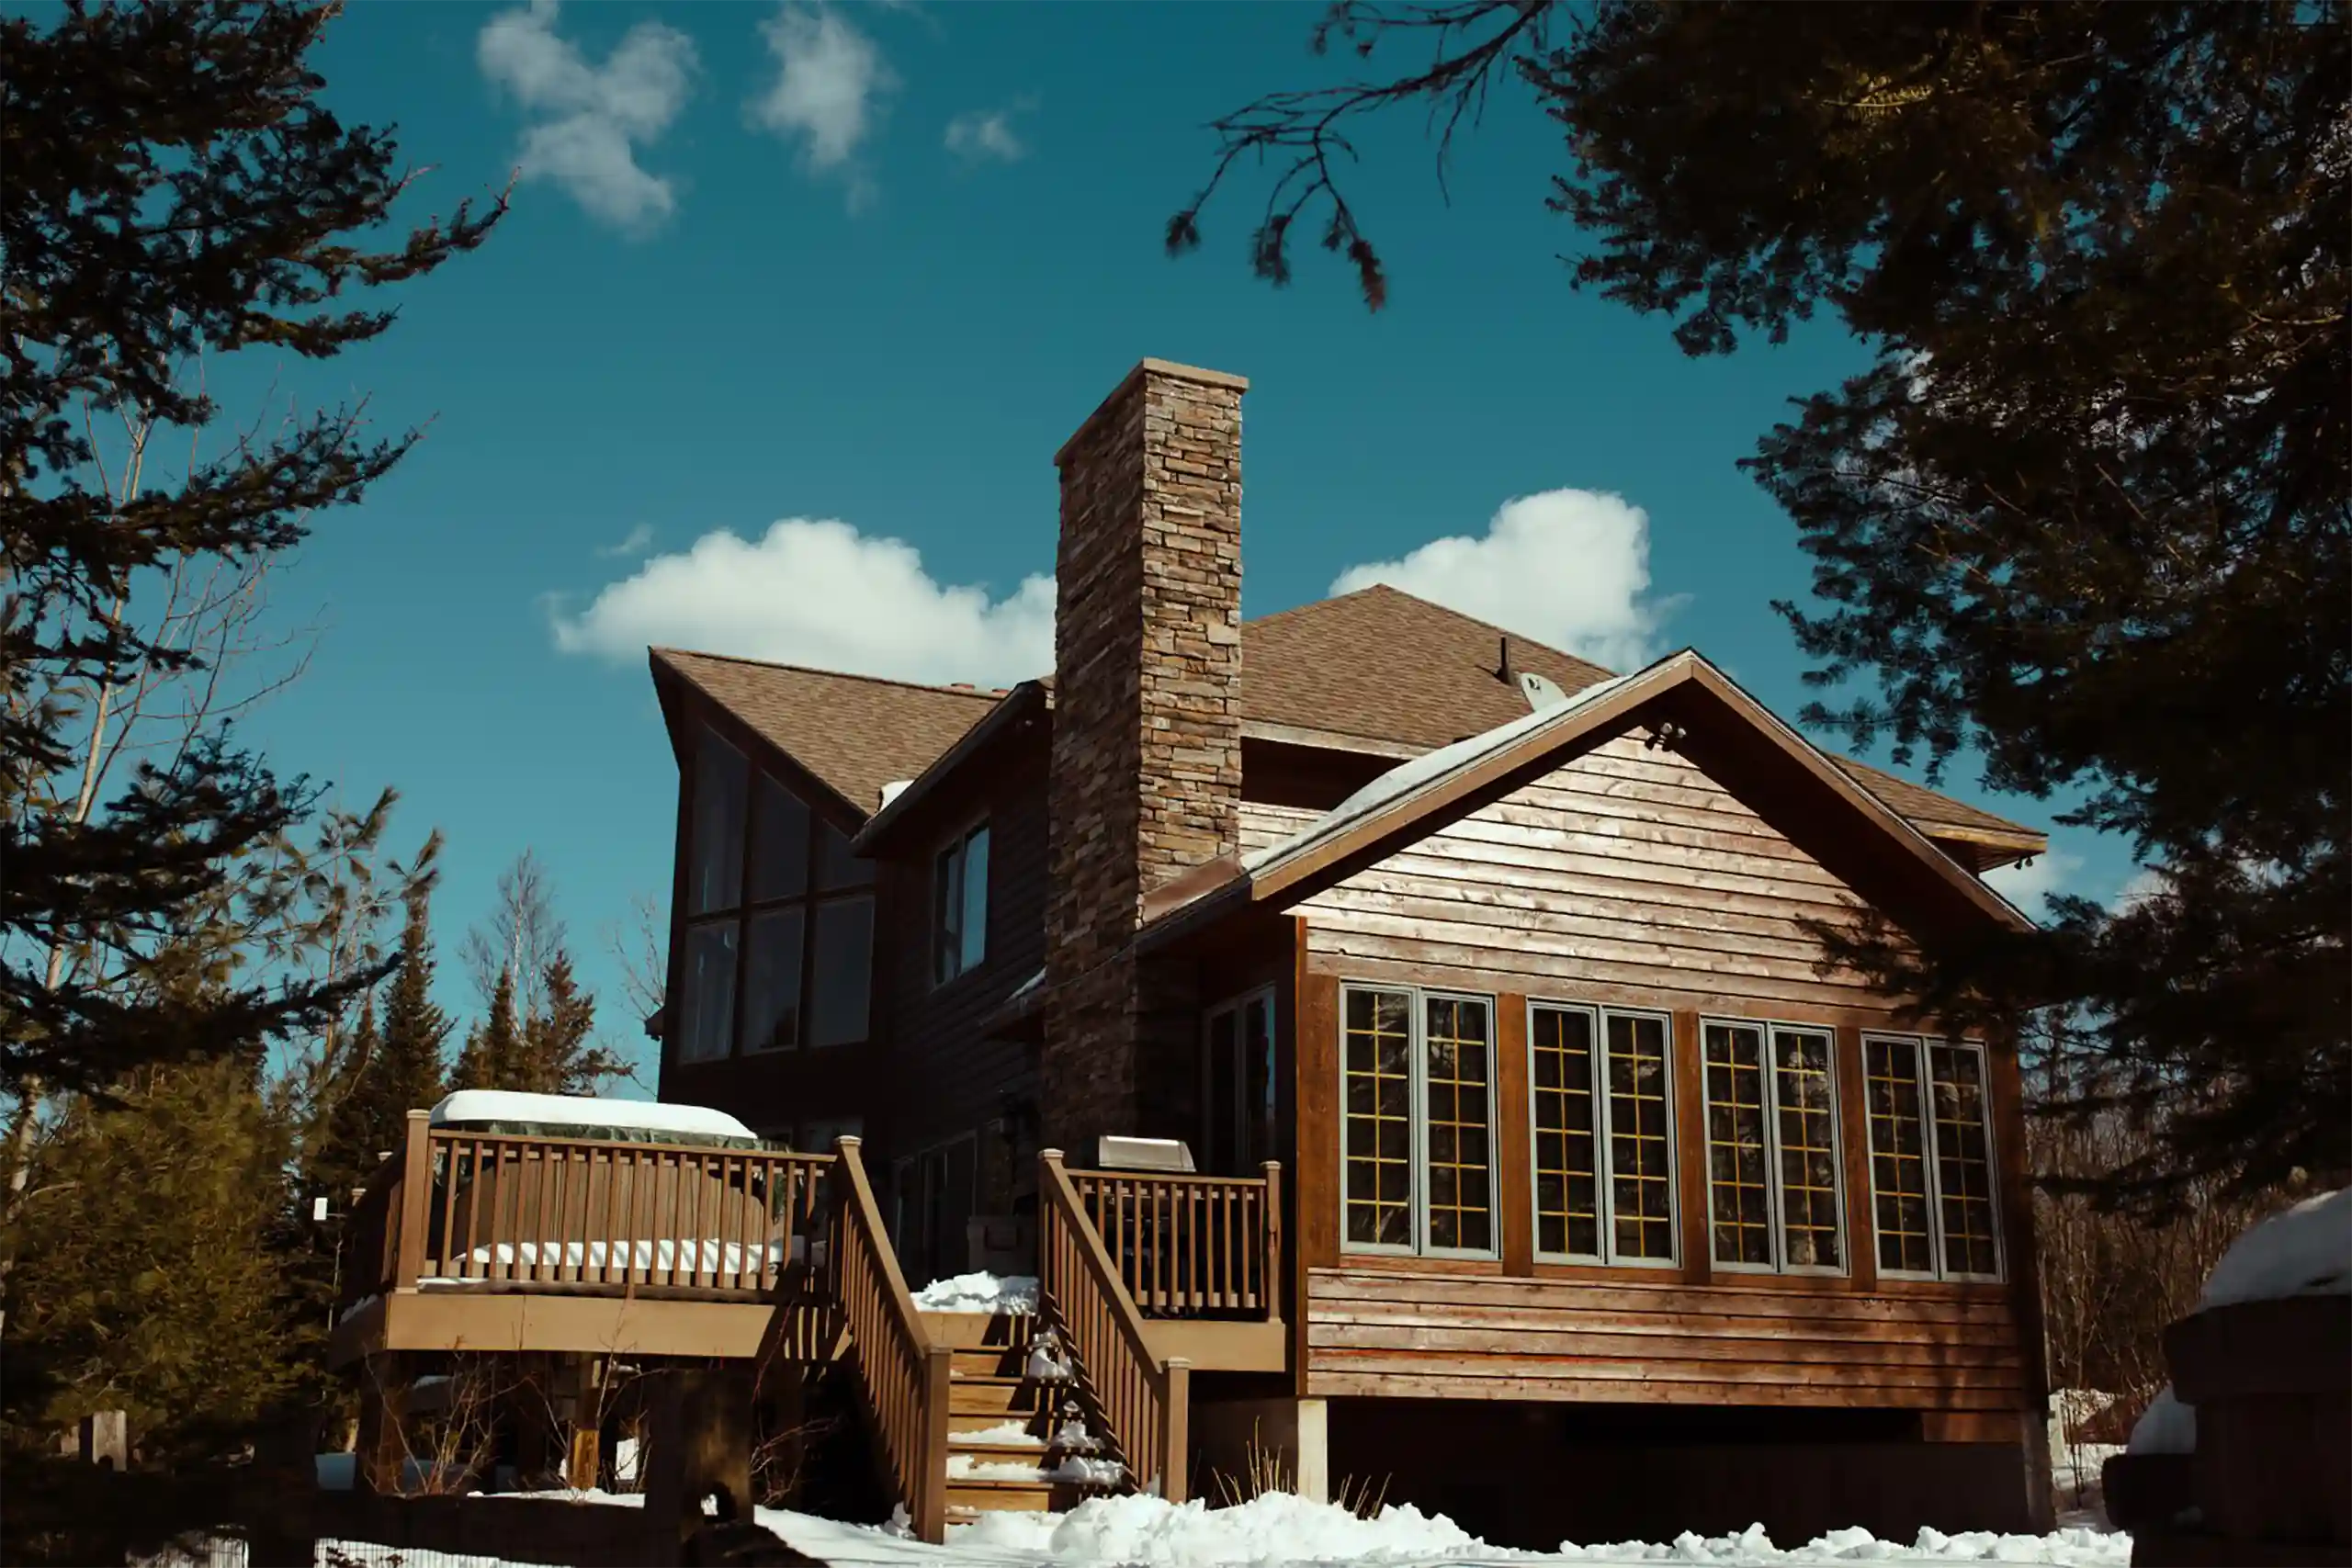
Building a deck is a great way to add additional outdoor living space to your log cabin. It can provide a place to relax, entertain guests, or simply enjoy the great outdoors. However, attaching a deck to a log cabin can be a challenging task if you don’t have the right information. In this comprehensive guide, we will walk you through the steps to attach a deck to a log cabin, from start to finish.
Planning and Preparation
Before you begin the process of attaching a deck to your log cabin, it is important to plan and prepare for the project. This includes determining the size and location of the deck, obtaining any necessary permits, and purchasing the materials and tools you will need.
Determining the Size and Location of Your Deck
The first step in planning your deck is to determine the size and location of your deck. Consider the space available around your log cabin and think about how you want to use the deck. Do you want a large entertaining area, or a smaller space for intimate gatherings? Do you want the deck to be located at the front, side, or back of your cabin?
Obtaining Necessary Permits
Before you begin building your deck, it is important to check with your local government to see if you need a building permit. Most cities and counties require a permit for any new construction, including decks.
Purchasing Materials and Tools
The next step in preparing to attach a deck to your log cabin is to purchase the materials and tools you will need. You will need to purchase lumber, screws, and nails, as well as any additional materials such as concrete blocks, brackets, and flashing. You will also need to have the right tools for the job, including a saw, drill, level, and measuring tape.
Building the Deck
Once you have planned and prepared for your deck-building project, you can begin building the deck itself. The process of attaching a deck to a log cabin involves several key steps, including:
Installing the Footings
The first step in building your deck is to install the footings. This involves digging holes for the concrete blocks and filling them with concrete. The blocks will serve as the foundation for your deck, providing a stable base for the deck joists.
Installing the Joists
Once the footings are in place, you can begin installing the joists. The joists are the horizontal beams that will support the decking boards. To install the joists, you will need to attach brackets to the concrete blocks and attach the joists to the brackets.
Installing the Decking Boards
Once the joists are in place, you can begin installing the decking boards. Decking boards are the boards that you will walk on and they will be attached to the joists. When installing the decking boards, be sure to stagger the end joints of the boards to prevent the deck from looking too uniform.
Finishing the Deck
The final step in building your deck is to finish it. This involves adding any additional features, such as railings, stairs, and skirting. You may also want to add a stain or sealer to the decking boards to protect them from the elements.